
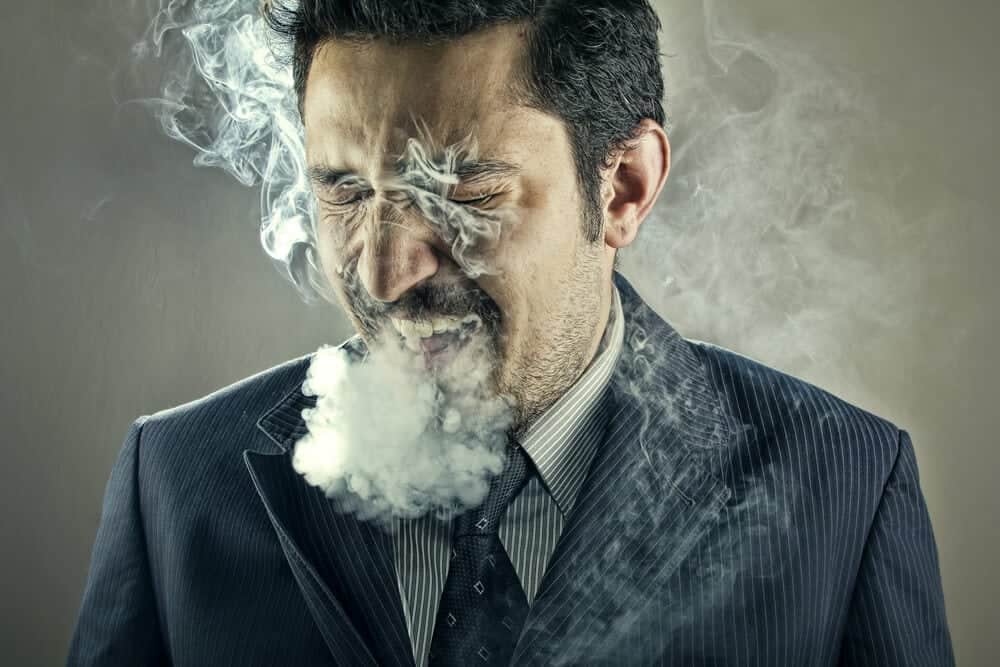
Is your vape burning your throat?
We’ve all been there: you go to take a drag from your vape, expecting a satisfying vapor hit, only to be met with a terrible burnt taste and an unpleasant sensation in your throat. Burnt hits are a dreaded experience for vapers, and they can happen with any type of vape device, from disposable vapes to powerful sub-ohm tanks. Not only can burnt hits ruin your vaping experience, but they can also discourage you from continuing to vape. However, the good news is that most burnt hits can be avoided if you understand their common causes and take preventative measures.
Burnt hits vs dry hits
Although many vapers use the terms “dry hits” and “burnt hits” interchangeably, they actually refer to two distinct experiences. While dry hits are not enjoyable, they are far less severe than burnt hits. A dry hit occurs when the wick of your coil becomes slightly dry, resulting in reduced flavor and vapor production. It may not taste great, but it doesn’t come with the harshness and coughing associated with a burnt hit.
However, if you continue vaping with a dry coil, you’re in for an unpleasant surprise. Consider a dry hit as a warning sign that shouldn’t be ignored. It’s an indication that you need to take action: don’t disregard that dry and flavorless vape you just had! A burnt hit is imminent. But why does it happen?
What causes a burnt hit?
Burnt hits occur when the atomizer is powered without sufficient liquid on the wicks or when there is a lack of liquid altogether. In such cases, the coils end up burning the wick, resulting in the inhalation of burnt cotton. To help you avoid burnt hits, here are some common causes and advice to prevent them:
High Wattages
Vaping at wattages that exceed the recommended limits for your coil can cause e-liquid to vaporize too quickly. This can lead to the burning of the wicks, even when there is still some juice remaining. It is important to always stay within the recommended wattage range to prevent burnt hits.
Chain Vaping
Taking multiple puffs in quick succession can quickly deplete the liquid on the wicks, causing them to dry out. If you sense a slightly roasted taste, indicating a potential burnt hit, it’s advisable to pause and give your vape a rest. This allows the liquid to replenish the dry areas of the wick.
High-VG E-Liquids
Different vape tanks have varying capabilities. Some tanks are designed to handle high-VG (vegetable glycerin) e-liquids, while others may require e-liquids with higher propylene glycol (PG) content, typically 50% or more. To determine if your tank is suitable for high-VG juice, check the size of the wick channels. If the holes are small in diameter, it’s likely that your tank will not function well with high-VG e-liquids.
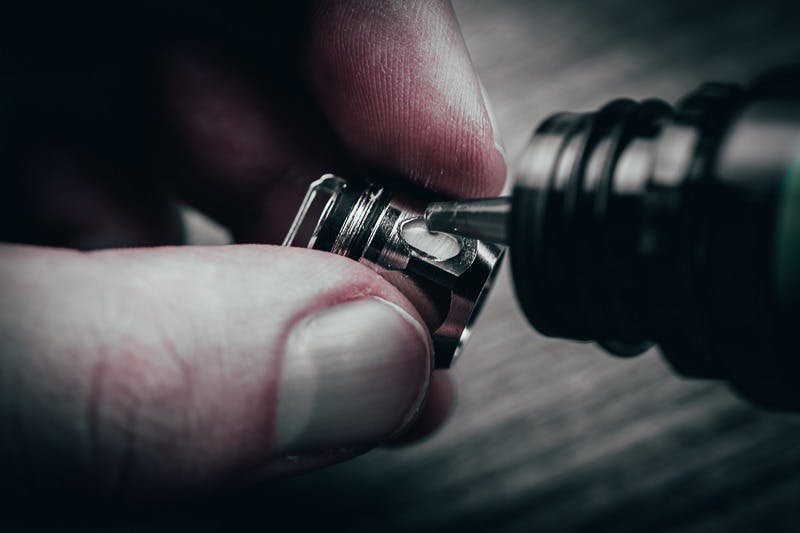
Improper Coil Priming
Improperly priming your coil heads is a common issue that can lead to burnt hits. Priming involves saturating the wicks with e-liquid before using them for the first time. To avoid burnt hits, always remember to properly prime your coils by allowing the wicks to fully absorb the e-liquid before vaping.
Prime your coils: stop the burnt hits
While the concept of priming your coils remains consistent, the specific method can differ depending on the type of vape equipment you’re using. Let’s explore the priming process for some of the most commonly used vapes.
How to prime vape tank coils
All vape tanks with replaceable coil heads follow a similar structure and require simple steps to ensure proper priming. It’s important to repeat this process each time you replace a coil. Here’s a straightforward guide:
- Take a new coil out of the box.
- Apply a few drops of e-liquid directly onto the wicking holes and inside the coil head (around 3-4 drops should suffice).
- Assemble your tank and fill it with your preferred e-juice.
- Screw the tank onto your mod and set it aside for approximately 10 minutes. This allows the e-liquid to fully saturate the wick.
- To speed up the priming process, take a few gentle inhales on the tip of the tank without firing the device.
- For vape mods with wattage adjustment, start at the lowest recommended wattage and gradually increase it until you find your desired vaping experience.
- Keep in mind that you might experience a slight amount of spitback during the first few puffs. This is normal and occurs due to any excess liquid that may have pooled inside the coil. If the spitback persists, and you’re using a variable wattage mod, you can slightly increase the power for a couple of puffs. However, ensure that you don’t exceed the upper wattage limit specified for the coil, as this could result in burning the coil.
By following these steps, you can properly prime your coil and ensure optimal performance and flavor from your vape tank.
How to prime refillable pods
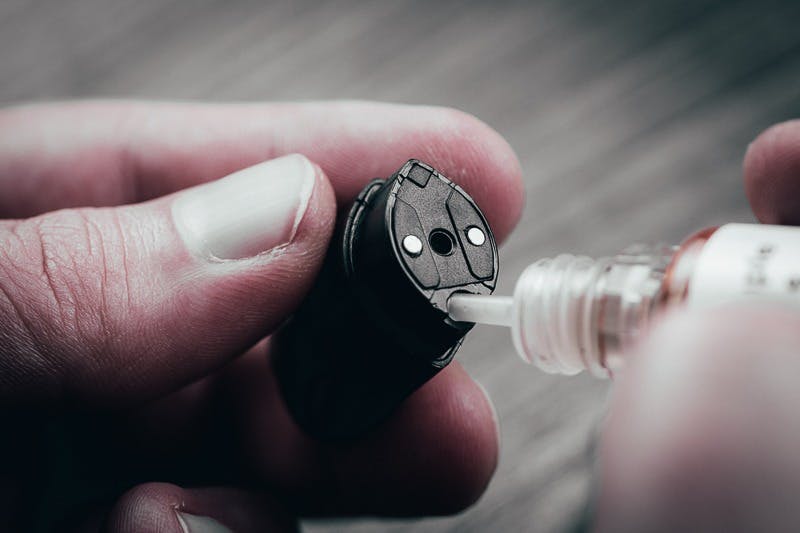
Refillable pod systems typically come empty, requiring you to fill the pod with e-liquid. The process is straightforward, especially since the coil cannot be removed from inside the pod. Here’s how to fill and prepare a refillable pod:
- Fill the pod with your preferred e-liquid.
- Allow the pod to saturate for approximately 10 minutes. This ensures that the wick inside the pod is fully soaked with e-liquid.
- Take a few gentle inhales directly from the pod itself, not while it is connected to the battery (if it is draw-activated). This action helps push e-liquid into the wicking channels, providing additional protection against dry hits.
When you start vaping with a new pod, it’s advisable to take shorter puffs initially. Some smaller coils may require a break-in period before reaching optimal performance. If you take long puffs right from the start, you may experience burnt hits even if the wick is fully saturated. It’s similar to gradually increasing the wattage on a variable wattage mod.
That’s all there is to it! You’re now ready to start enjoying your vape with the filled and prepared pod.
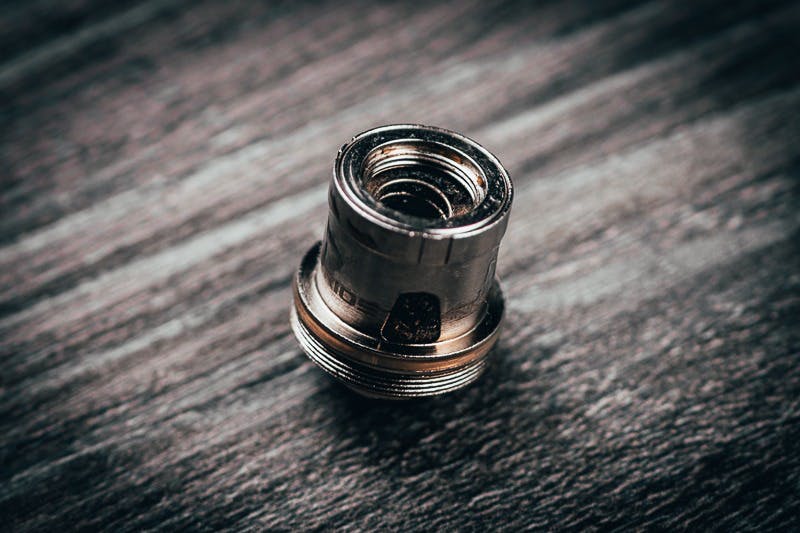
How to tell if your coil is burnt
If you’ve experienced a harsh burnt hit, it’s likely time to replace your coil. In some cases, if you caught it early, you may try vaping a few more times to see if the burnt taste disappears. However, if the cotton inside the coil has truly burnt, replacing it is necessary as the burnt taste won’t go away.
Aside from burnt hits, if you’ve properly primed your coil and ensured it’s adequately saturated with e-liquid, you might wonder why you continue to experience a burnt taste. While burnt hits are a common cause of a throat burn, there are other factors to consider. Coils can become burnt due to various reasons, resulting in suboptimal flavor delivery.
Determining when to replace a coil isn’t an exact science, but rather a learning process. The more you use a vape tank, the more familiar you become with the signs that indicate the need for a new coil. Initially, you may notice a loss of flavor, followed by a decrease in vapor production. Even at this point, you can extend the life of your coil slightly. However, if you’re running low on coil replacements, it’s a good time to restock your supplies.
How often do you have to change coils?
Coils have a limited lifespan and will eventually deteriorate over time. Unfortunately, they don’t come with expiration dates, so estimating their expected lifespan requires considering several factors.
One important factor is e-liquid consumption. The more e-juice you use, the faster your coil will wear out. Coil lifespan can be measured in days, weeks, or more accurately, in milliliters (mL). Different vapers consume different amounts of e-liquid, ranging from a couple of mL per day to 10-20 mL or more.
The ingredients in your e-liquid also play a role. Sweet juices and those with high vegetable glycerin (VG) content can shorten coil lifespan due to the clogging effect of sweeteners and the thick consistency of VG.
The wattage you vape at is another consideration. Vaping at higher wattages strains the coil and reduces its lifespan, potentially leading to burnt hits. On the other hand, vaping at lower wattages can lead to coil caramelization due to residual accumulation of unvaporized e-liquid. It’s best to find a middle ground in terms of wattage.
While there is no universal rule, properly primed coil heads typically last between five days to two weeks. Mouth-to-lung tanks tend to have longer-lasting coils compared to sub-ohm coils due to lower e-liquid consumption. However, individual experiences may vary.
If you’re using your tank regularly and haven’t noticed a drop in flavor after a week or so, it’s advisable to proactively change your coil. Gradual decline in flavor and vapor production may go unnoticed. By replacing the coil, you’ll be pleasantly surprised by the improved taste and performance.
